1. Set Source Input. Note: Set Source Input type first as settings are stored and set by source input type (DVI, DisplayPort, etc.)
- Set the input on TV’s 1 & 5 to DVI.
- Set the input on TV’s 2, 3, 4, 6, 7, 8 to Display Port.
Note: The following settings are accessed through the [HOME] button on the remote.
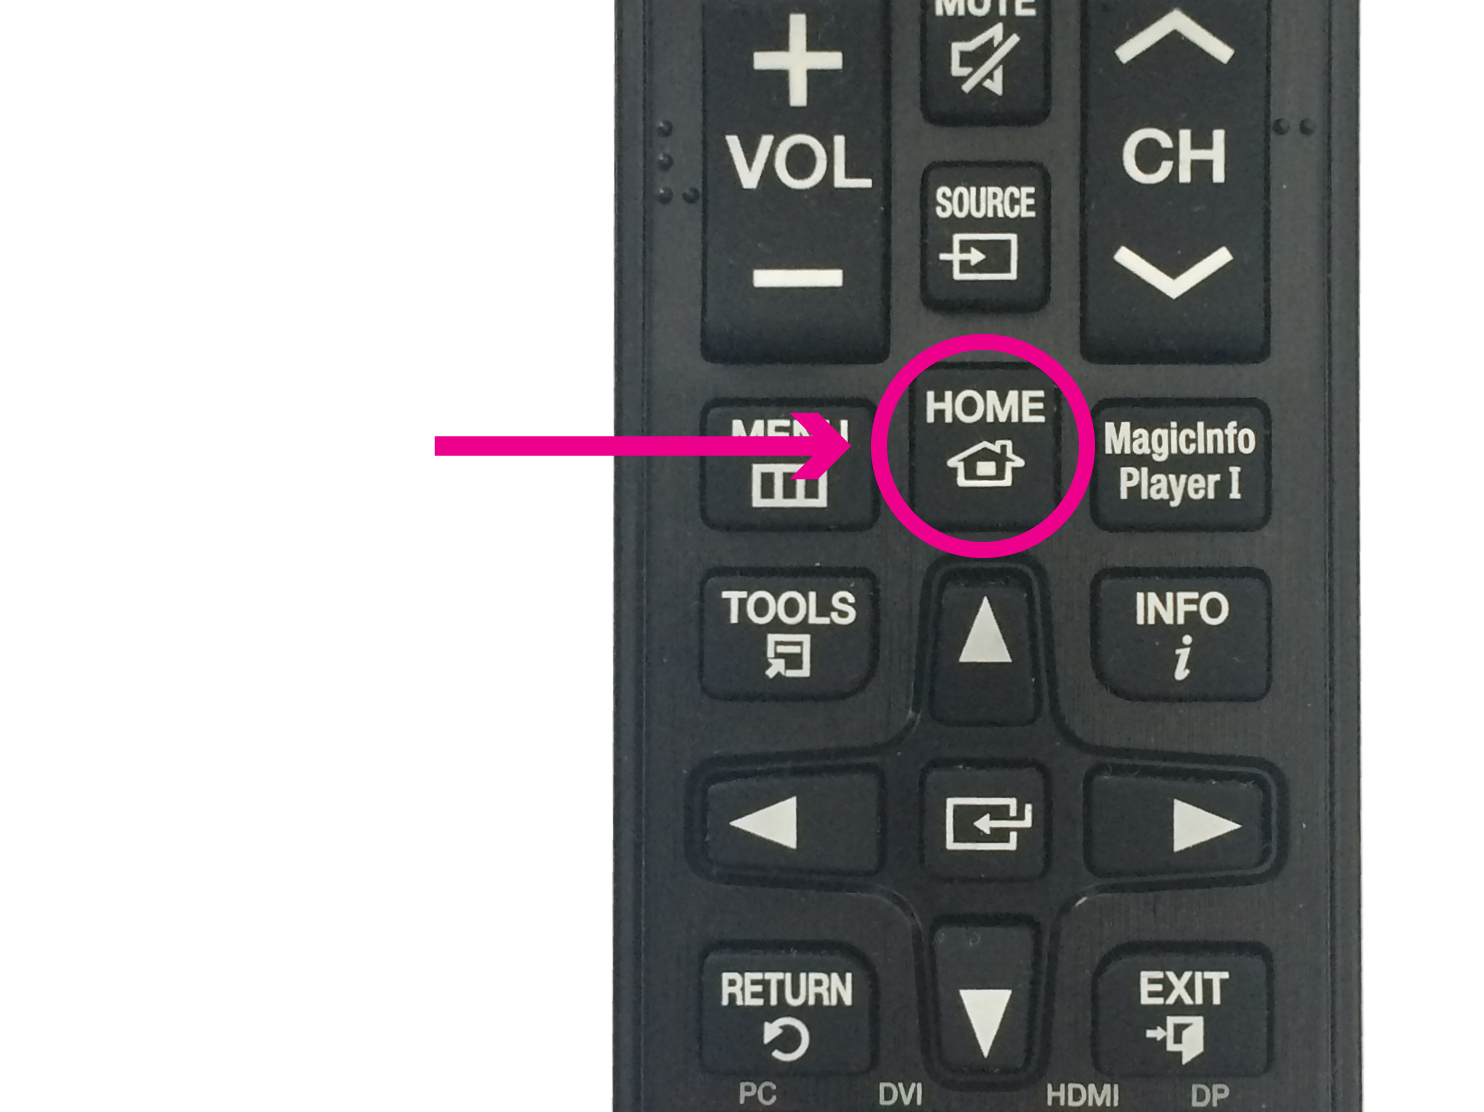
2. Picture Mode Settings - [HOME --> Picture --> Picture Mode]
- Set Picture Mode to 'Calibration'
3. ID Settings - [HOME --> ID Settings]
- Set Device ID to match the ID layout in Step 1.2. Note: Device ID is different than the video wall screen position number shown below.
- Set PC Connection Cable to RS232C Cable
4. Video Wall Settings - [HOME --> Video Wall]
- Apply to 'Current Source'
- Video Wall --> ON
- Format --> Natural
- Horizontal --> 2
- Vertical --> 2
- Screen Position - Set Corresponding to Display Position (see below)
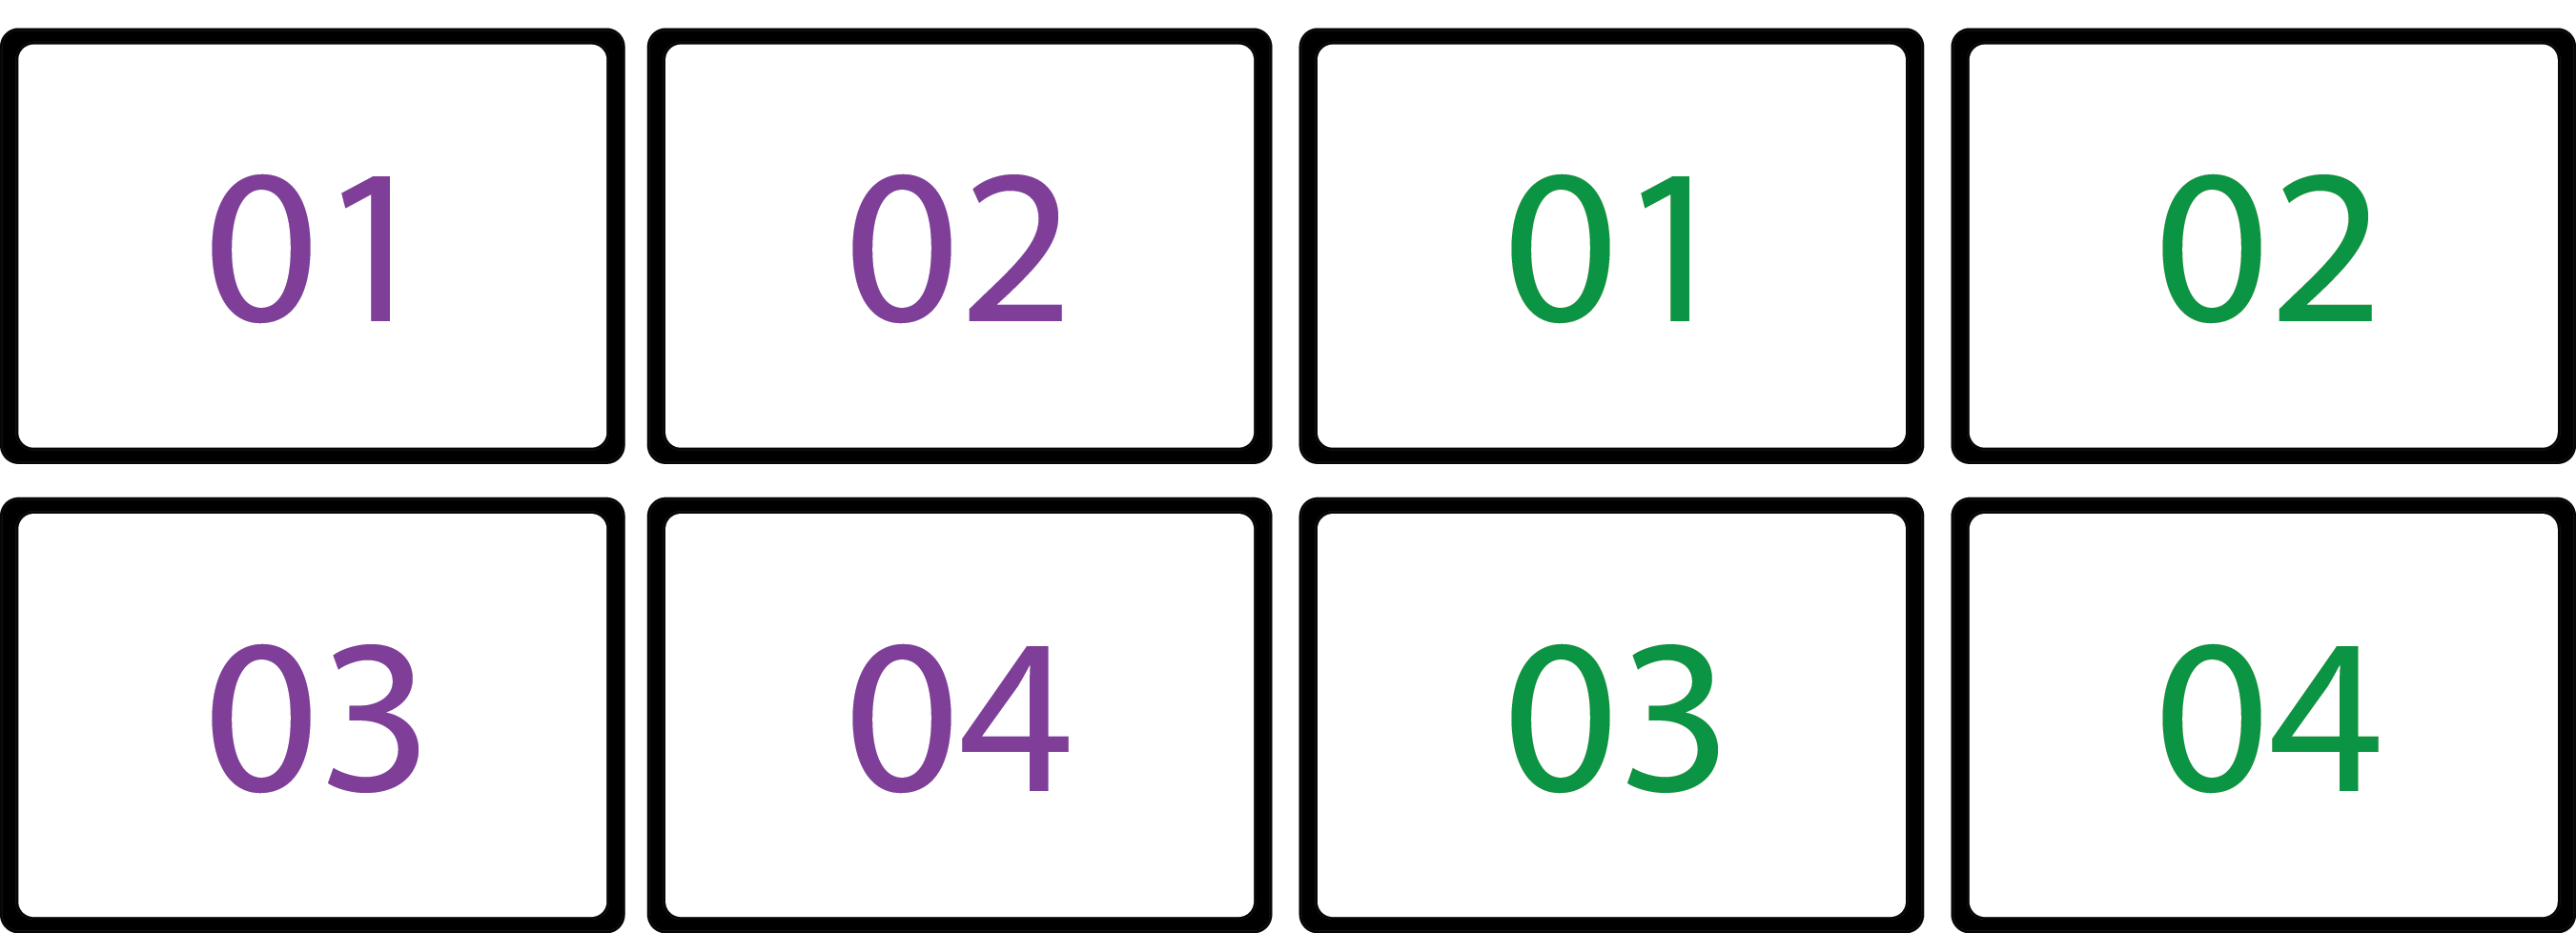
Note: The following settings are accessed through the [MENU] button on the remote.
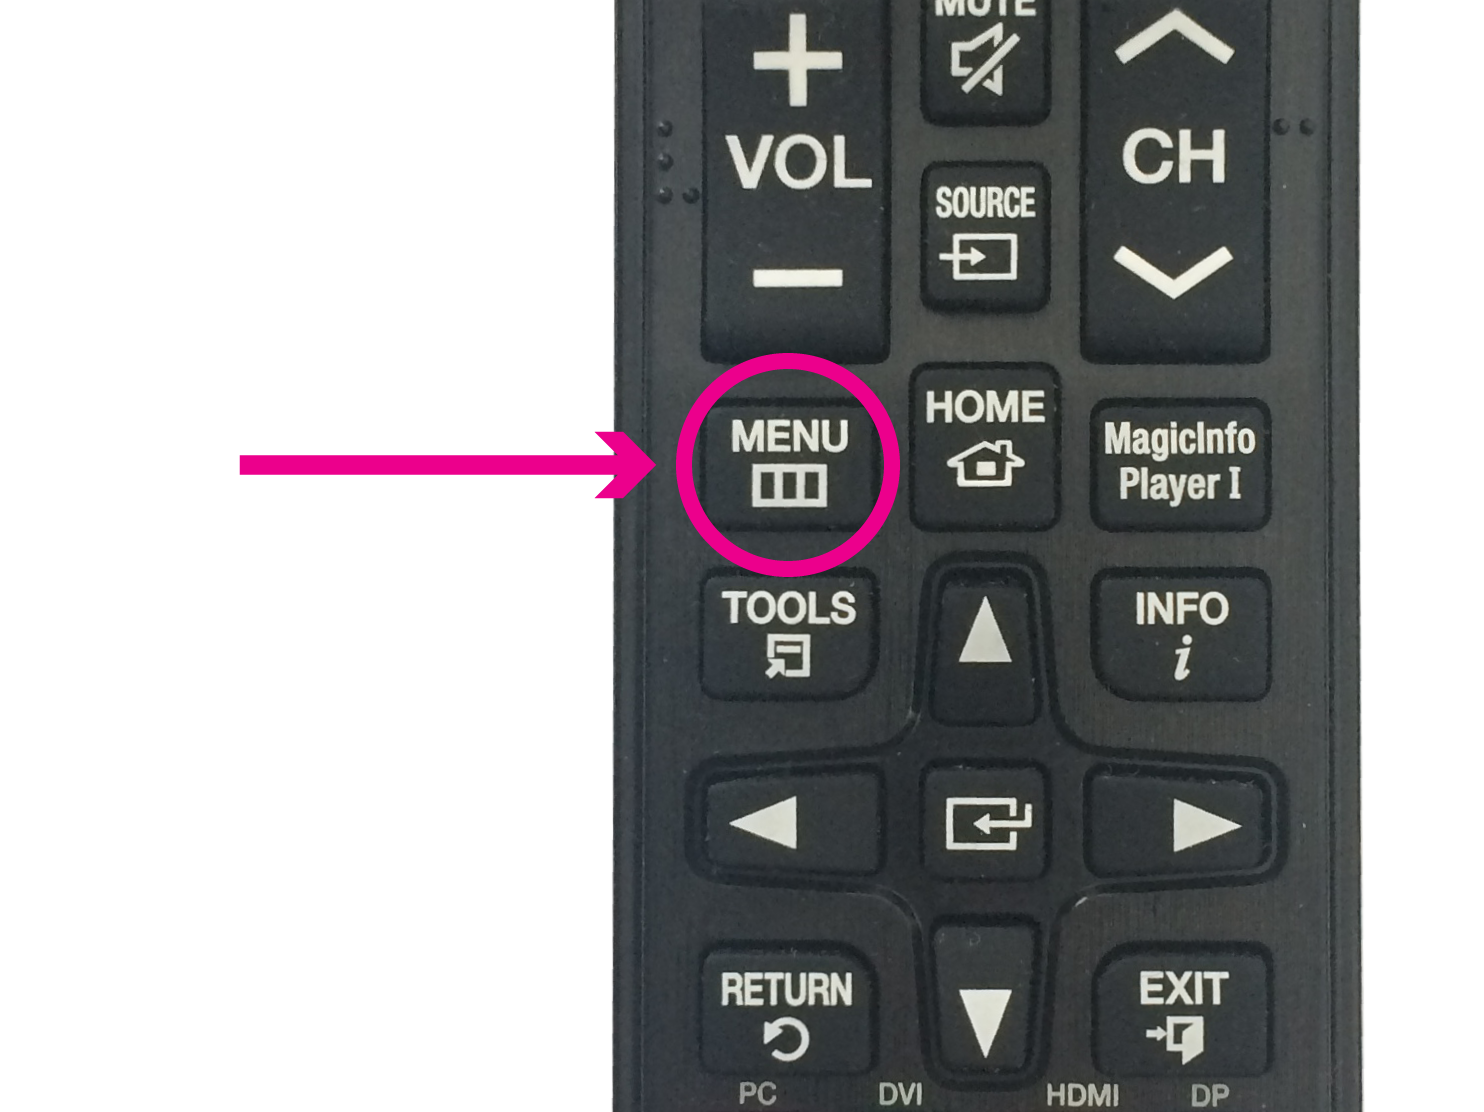
5. Auto Source Switching Settings - [MENU --> Auto Source Switching]
- Auto Source Switching --> OFF
- Primary Source Recovery --> OFF
- Primary Source --> ALL
- Secondary Source --> TV
6. Power Control Settings - [MENU --> Power Control]
- Auto Power On --> ON
- Max. Power Saving --> OFF
- Standby Control --> OFF
- Power Button --> POWER ON ONLY
- Network Standby --> OFF
7. Eco Solution Settings - [MENU --> System --> Eco Solution]
- Energy Saving --> OFF
- Eco Sensor --> OFF
- Standby Control --> OFF
- Screen Lamp Schedule --> OFF
- No Signal Power Off --> OFF
- Auto Power Off --> OFF
8. General Settings - [MENU --> System --> General]
- D Wise --> OFF
- Anynet+ (HDMI-CEC) --> OFF
- Standby Control --> OFF
- HDMI Hot Plug --> ON
- Gaming Mode --> OFF
Comments